With the growing use of the Procreate application, with is popular and accessible to a lot of people nowadays, people are starting to wonder whether or not it can be used to create logos? And you might have heard people answer yes and no to that question! Well, that really is the case! Yes and no! We are going to tell you why and how you can use procreate to create (see what we did there? Hee-hee) your own logo! We would also like to recommend you take a look at some of the brushes for Procreate that we found out, that might help you on your logo design journey!
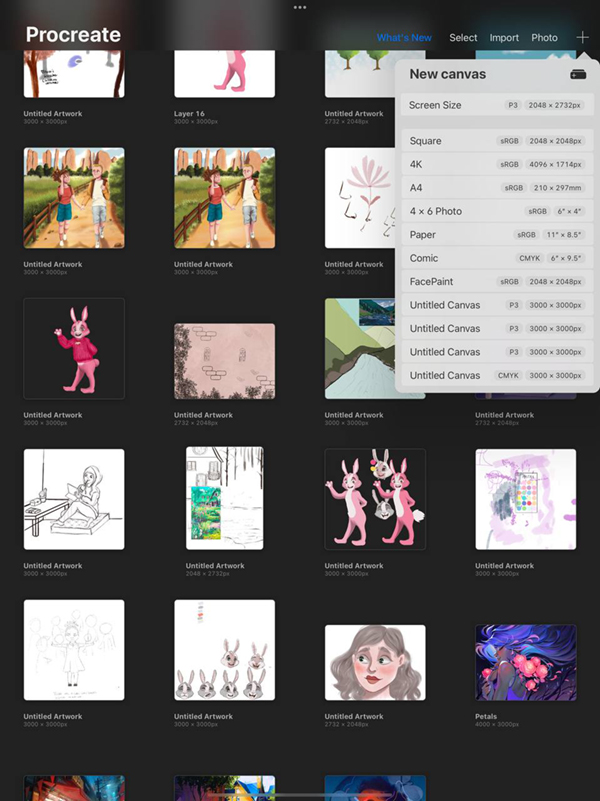
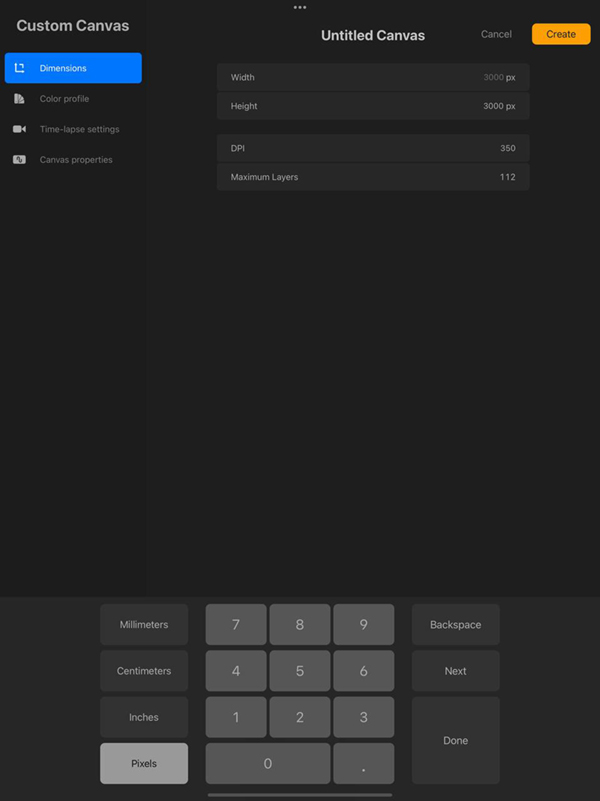
1. New Canvas:
The very first step is to create a new canvas of the following dimensions. You might wonder why those exact dimensions? Well, it is a long story. However, what you need to know is that those dimensions will help you create a high-quality logo that will maintain its quality when printed on A3 paper or smaller. So, you can also definitely print it on A4 as well. But A3 is as big as you can get without compromising the quality of the design. This is why some people would not like to use procreate or raster programs similar to it for logo design. So as long you use those measurements you should be fine.
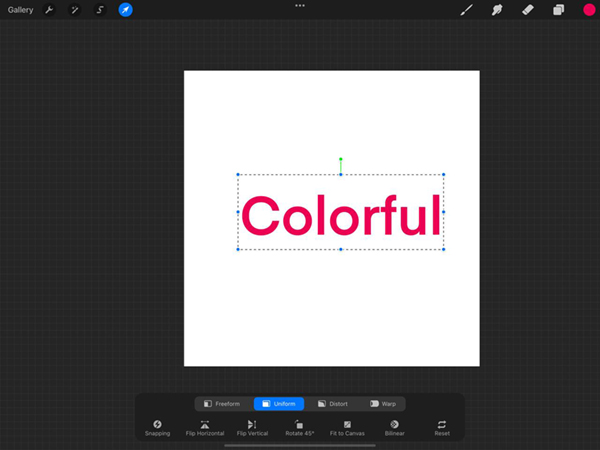
2. Insert Your Text:
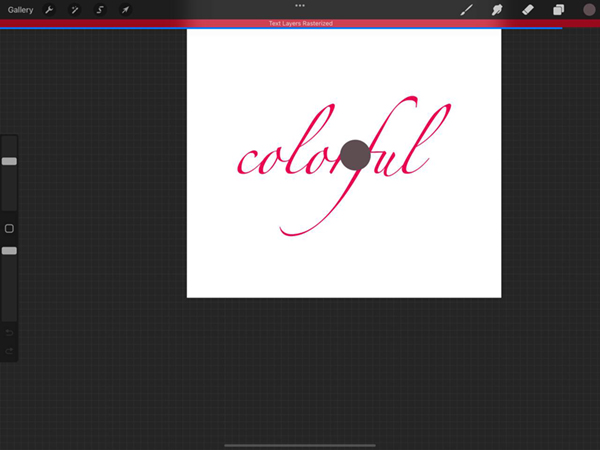
Head over to the “Actions” menu, “Add”, then “Add Text”. Start typing in your business’s name. For this tutorial, we are calling our brand “Colorful”.
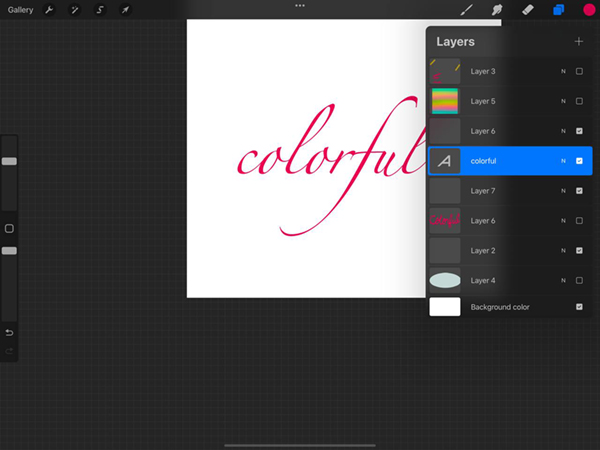
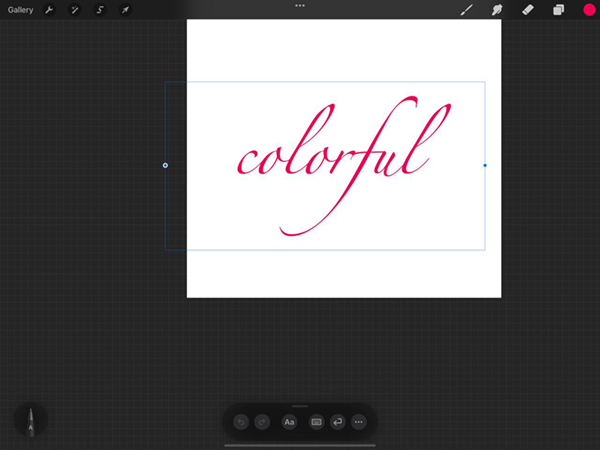
You can always use a calligraphy brush and start writing manually if you’ve got some calligraphy skills!
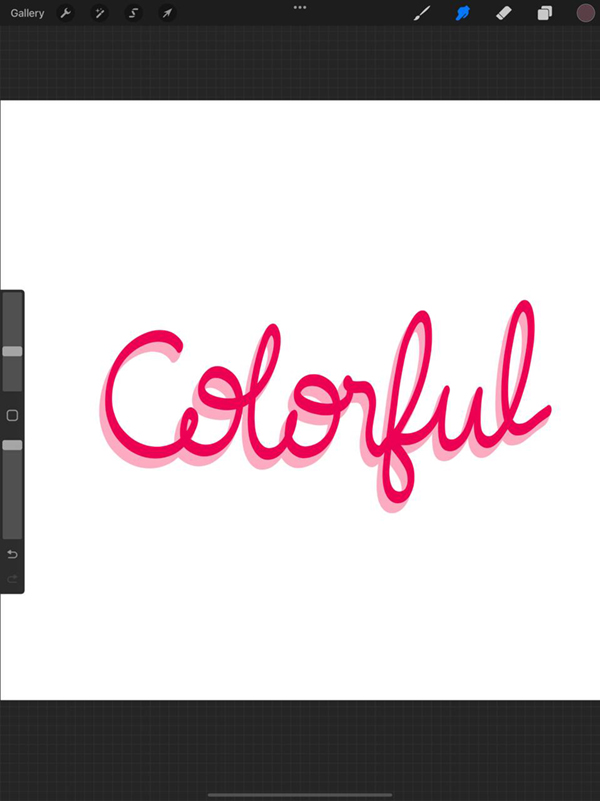
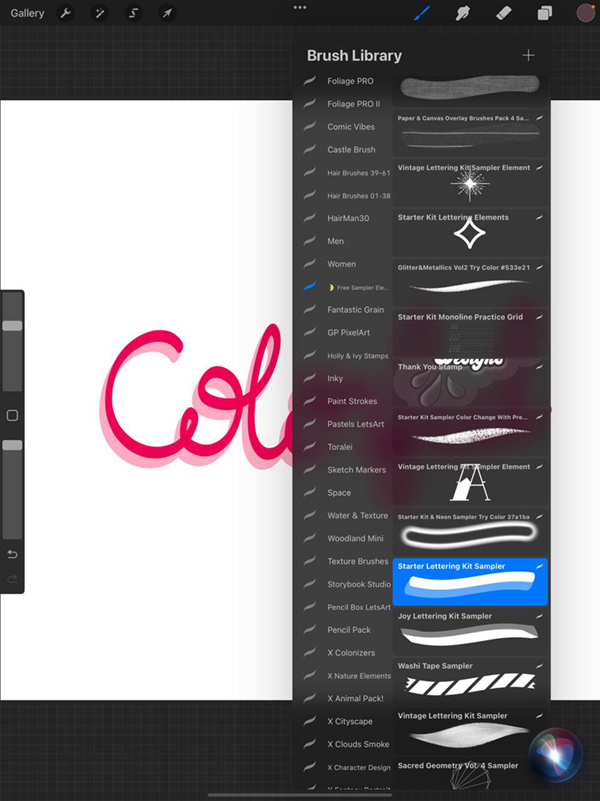
3. Shadow:
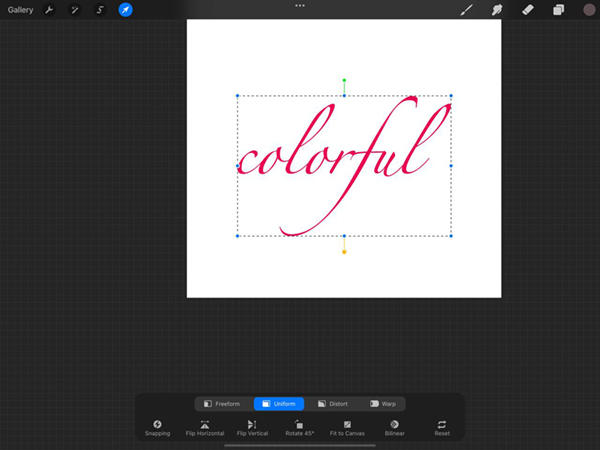
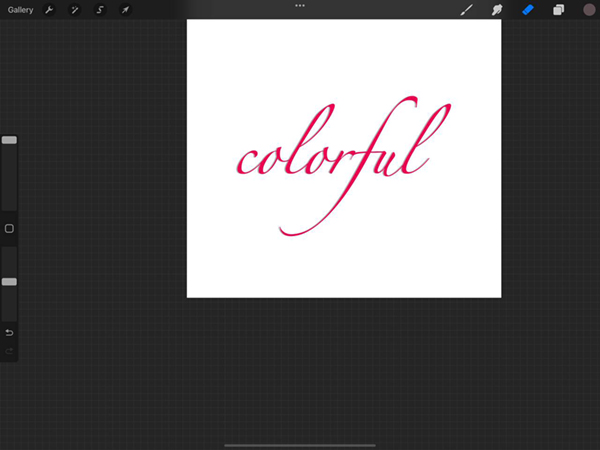
In case you typed in your text and would like to create a similar shadow effect duplicate the text layer and then change its color into a greyish shade. “Select” and move it slightly to the left to create the illusion of shadow.
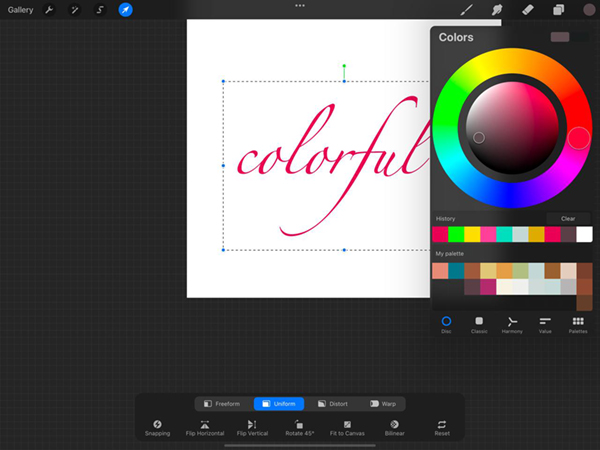
4. Decorate:
You then create a new layer on top of the original text layer and we are going to add a colorful overlay to represent the brand name. So, we will go ahead and add some horizontal-colored lines overlapping one another.
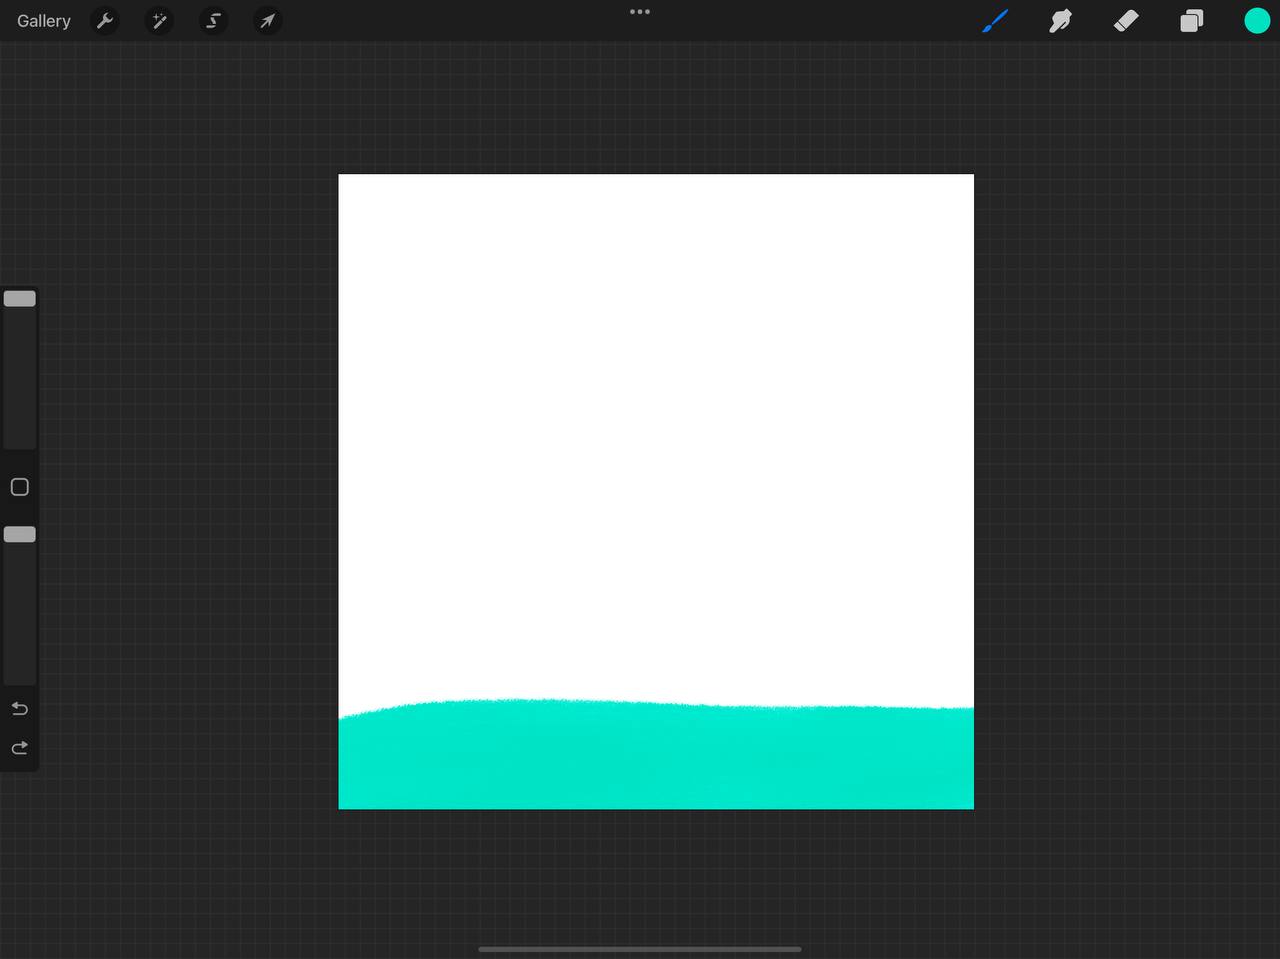
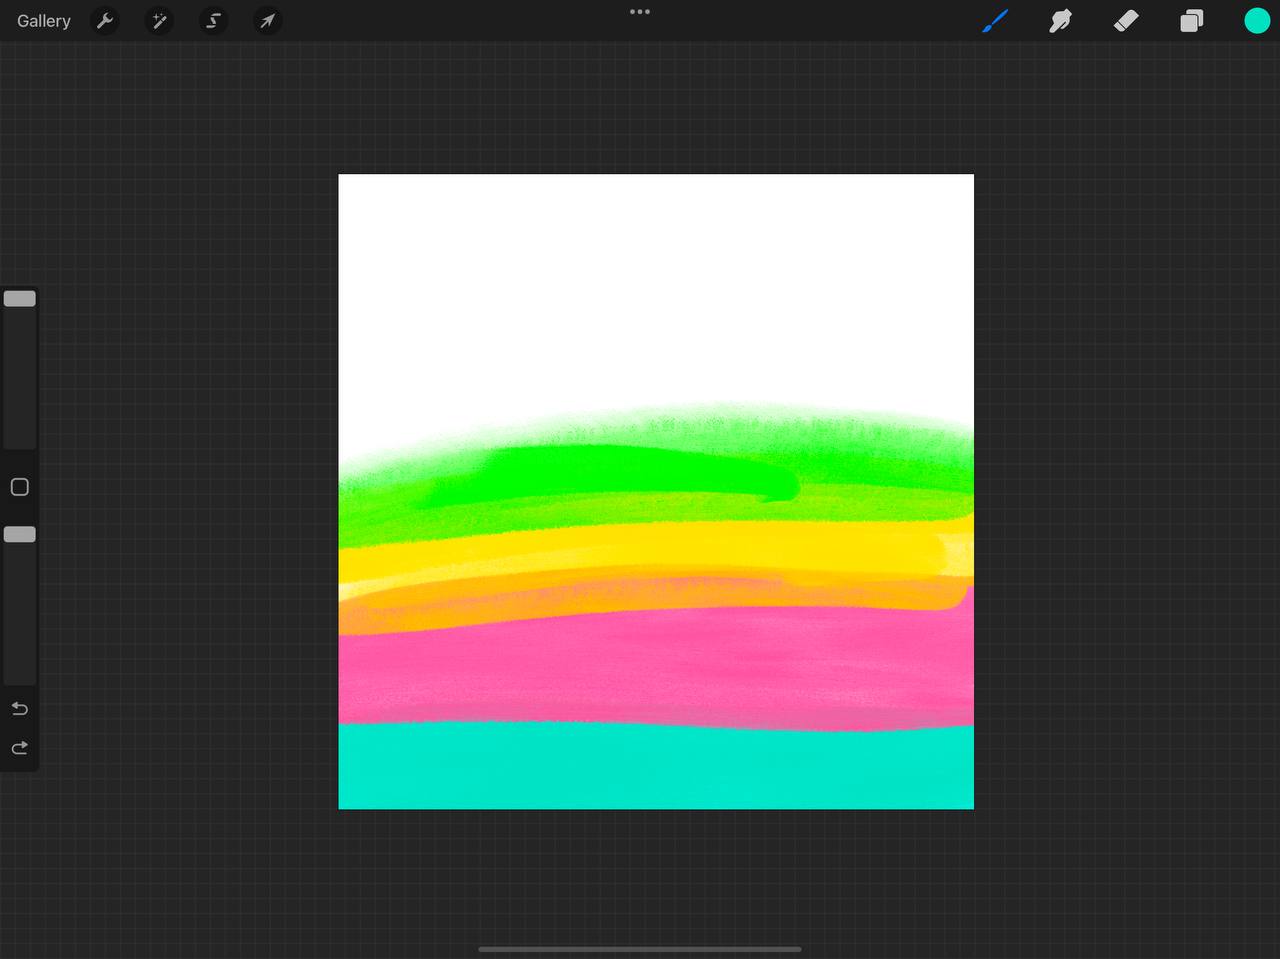
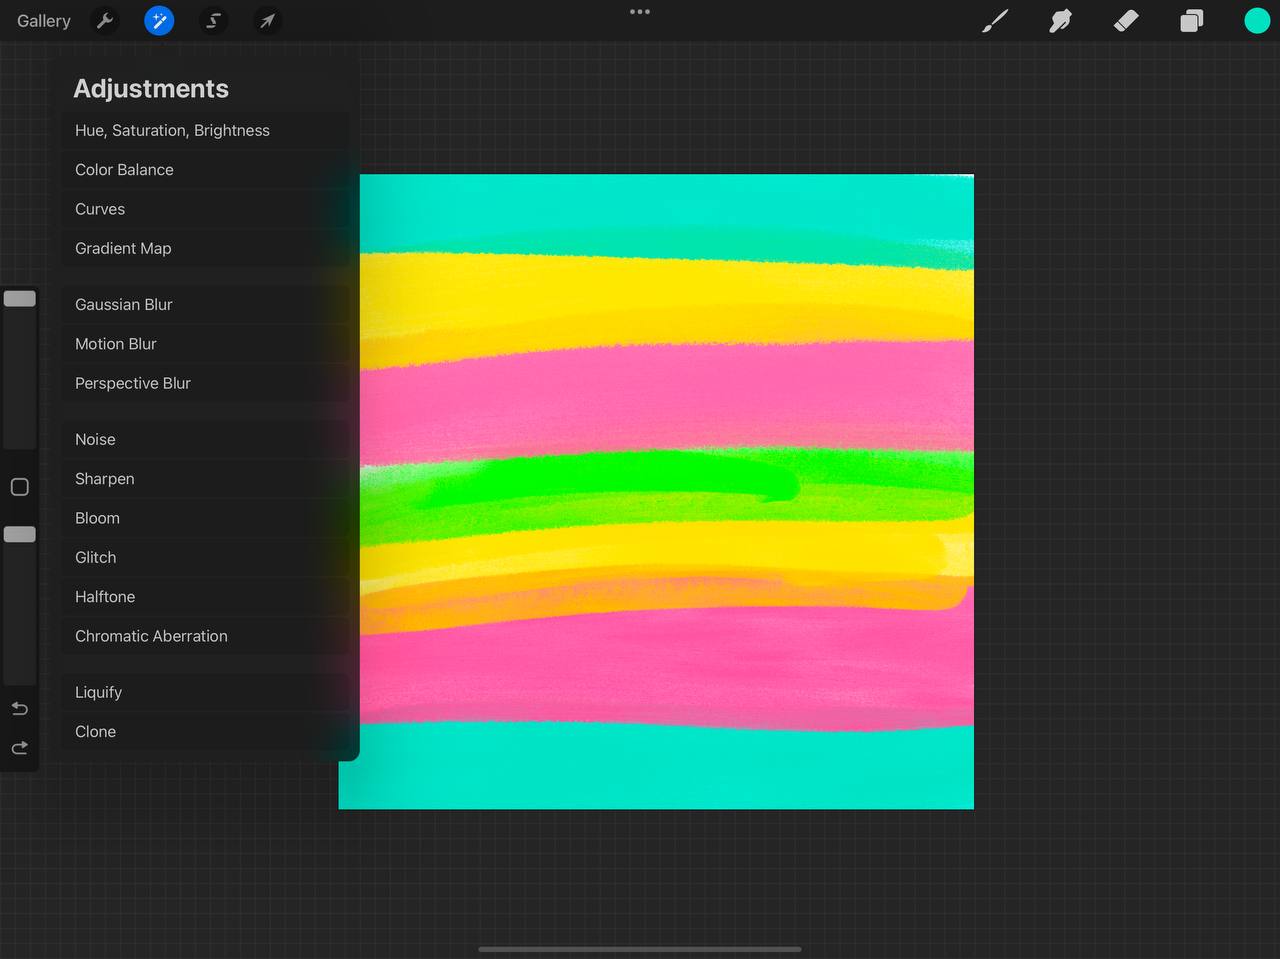
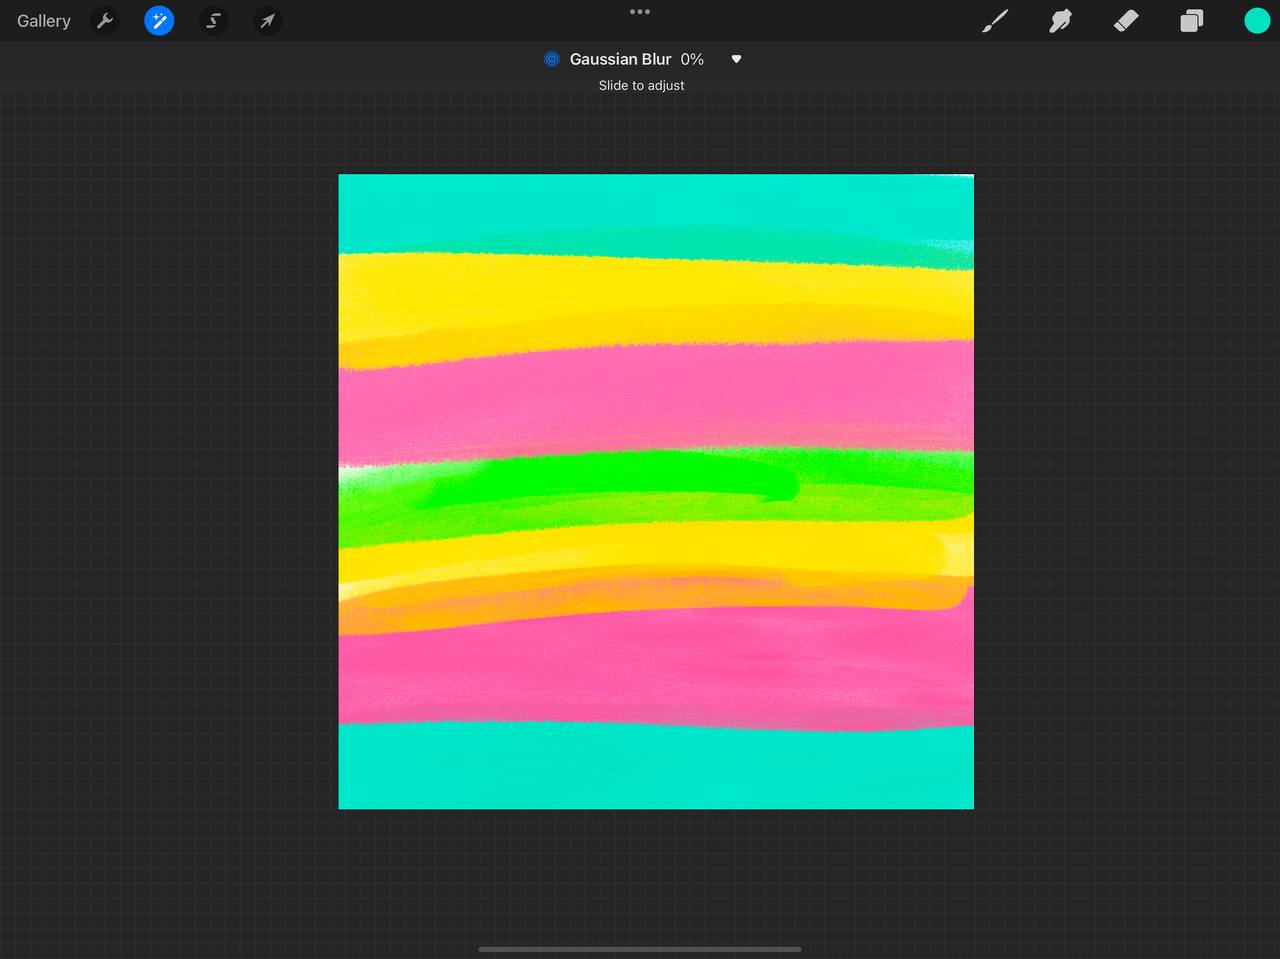
Then go to the “Adjustments” menu, choose “Gaussian Blur” and then start dragging your apple pencil across the screen to the right, to control how you would like the blur to look like.
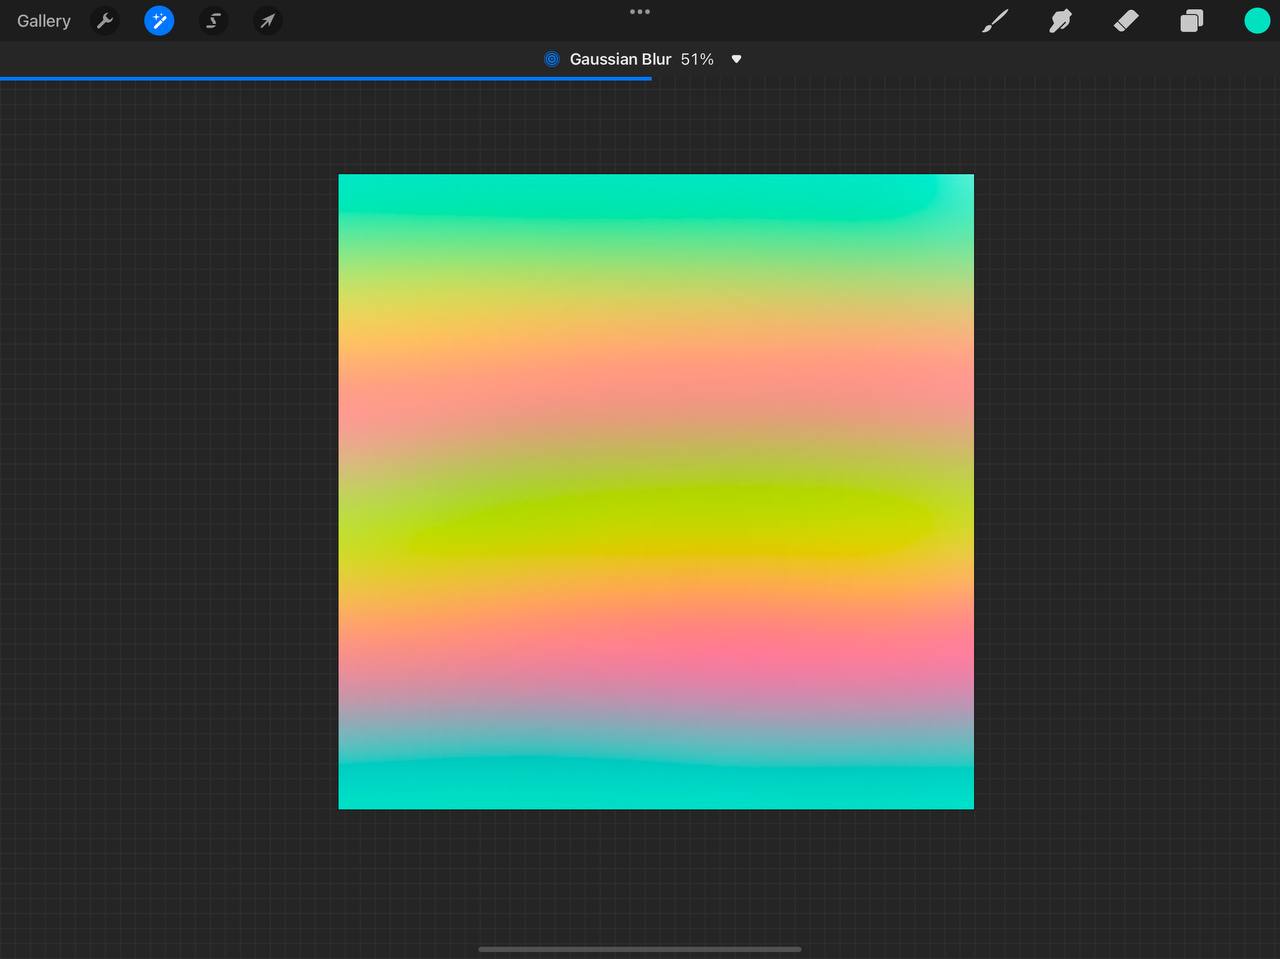
After you are done, clip the colored overlay to the text layer, by tapping on the overlay layer then select “Clipping Mask”. This will only allow the overlay to show on the text part, instead of the whole canvas.
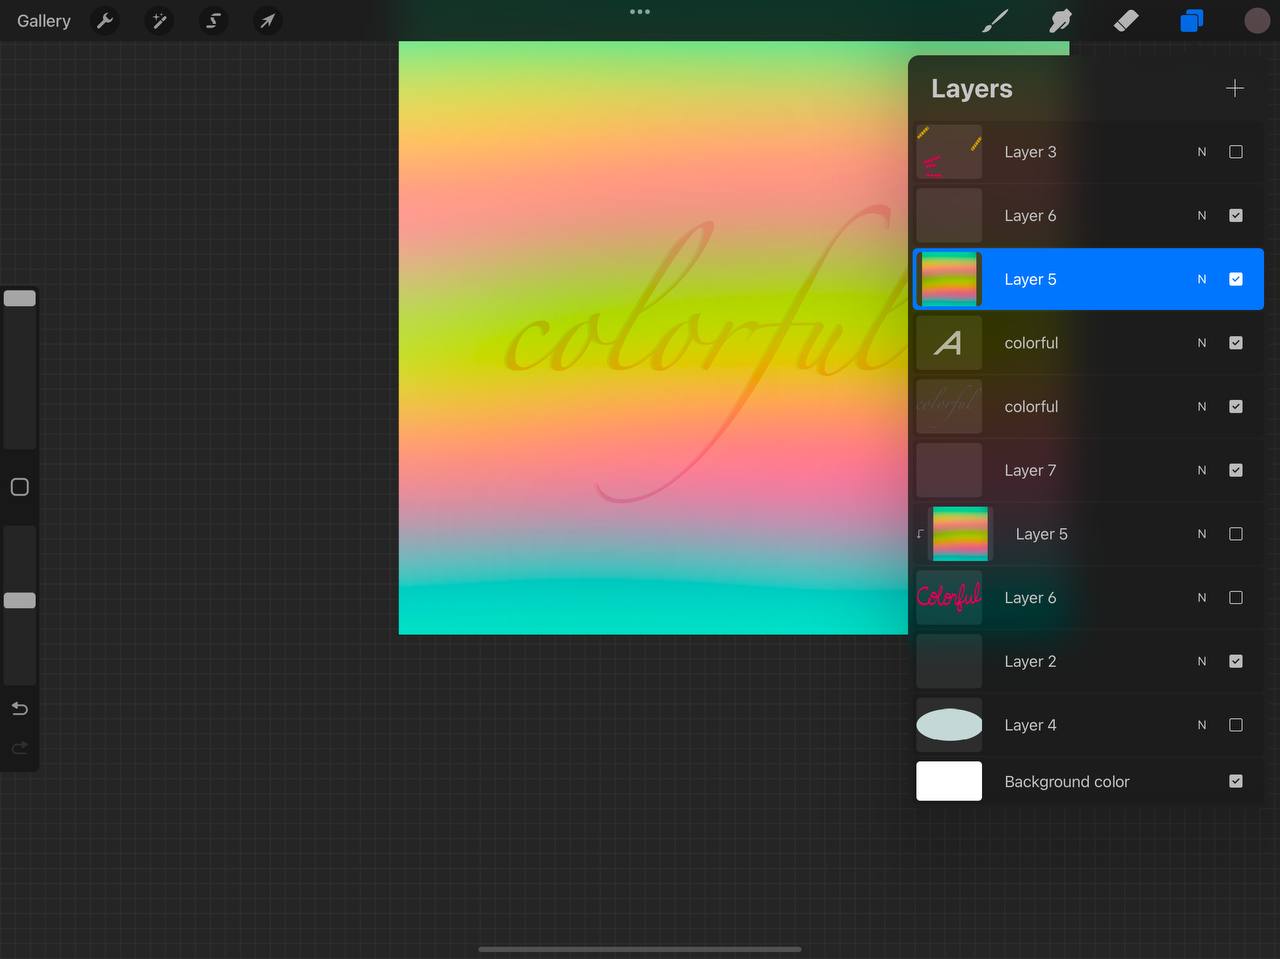
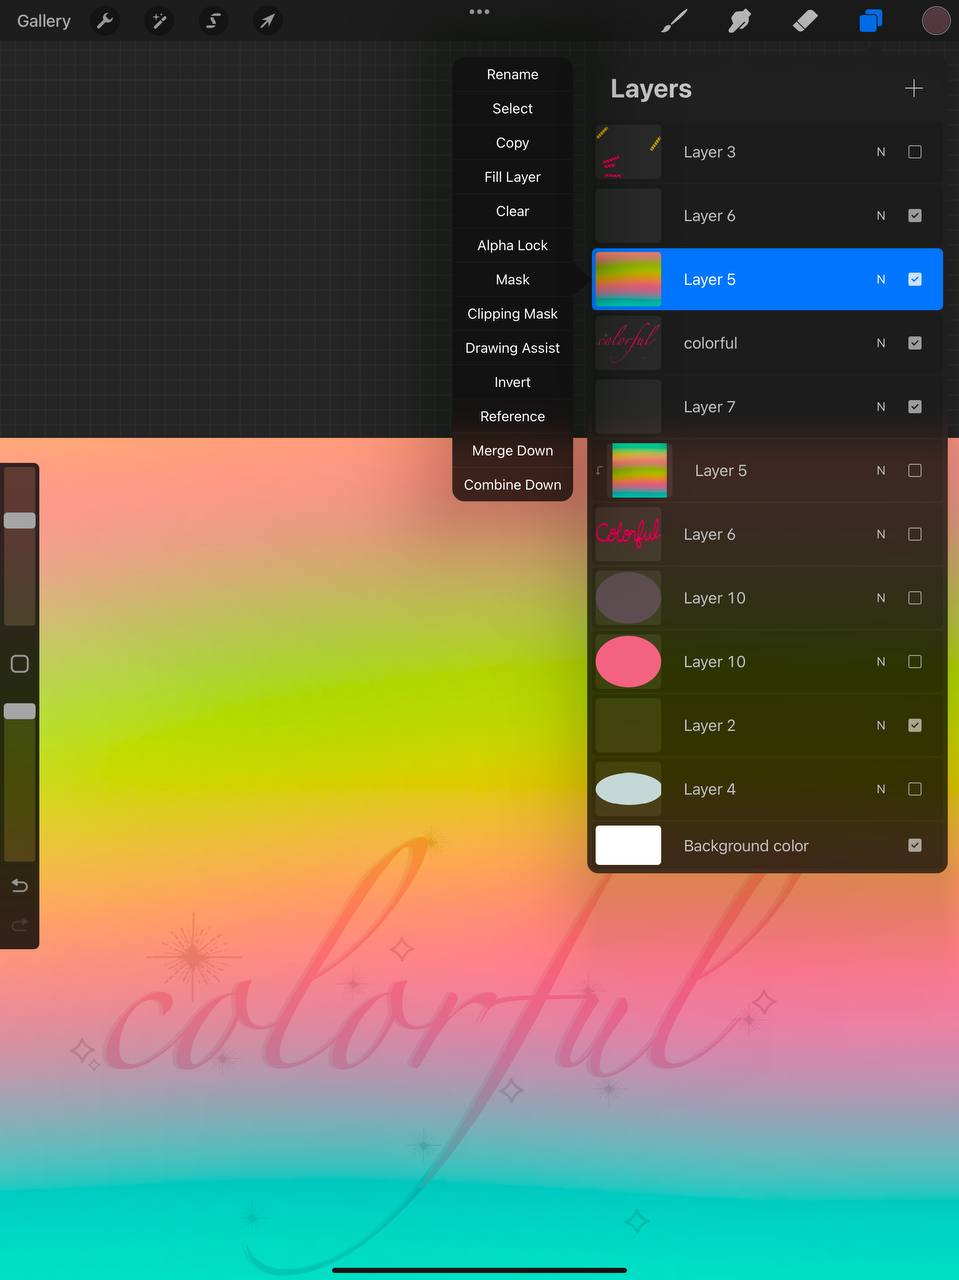
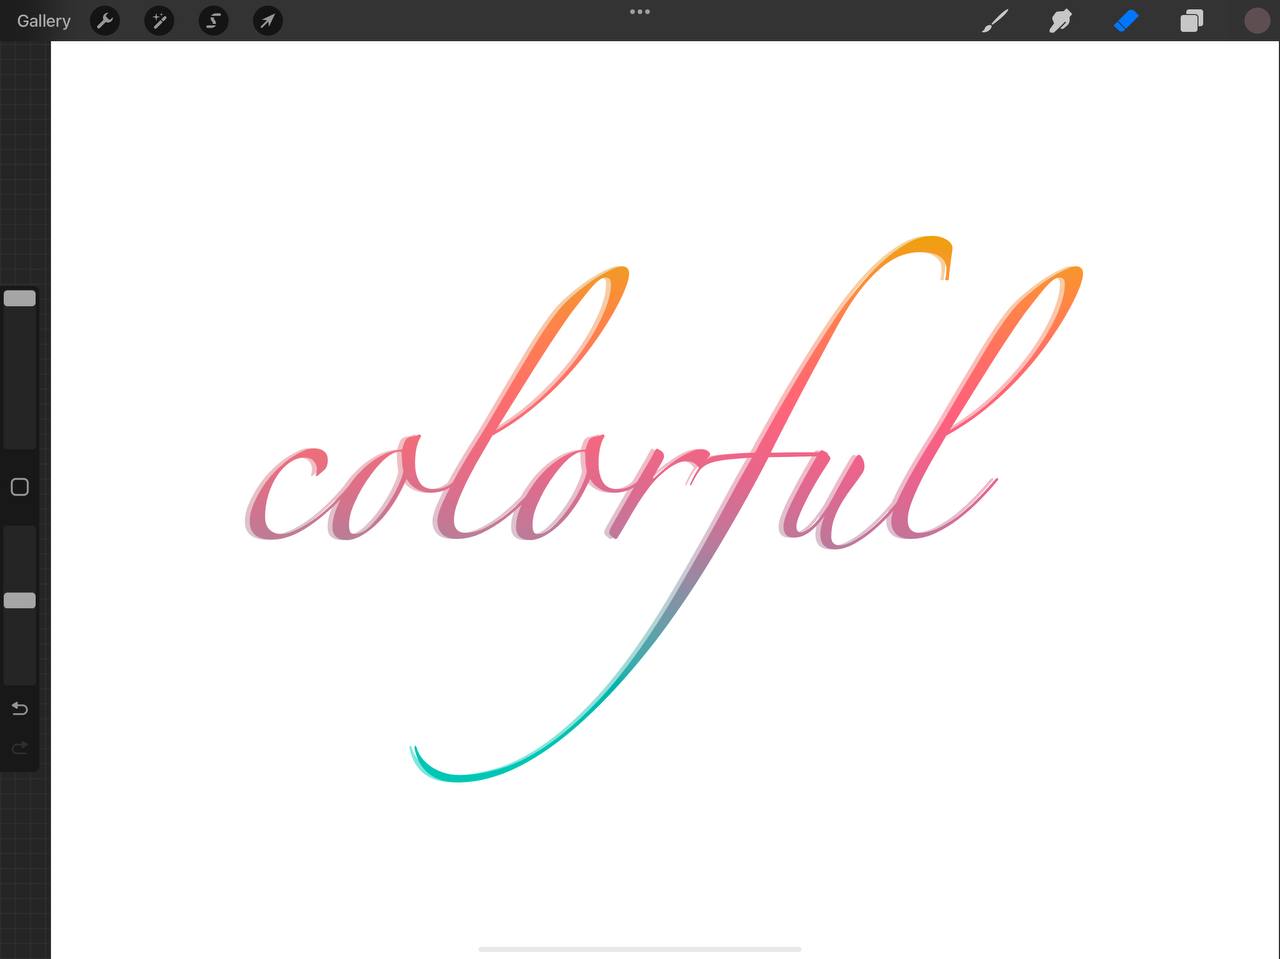
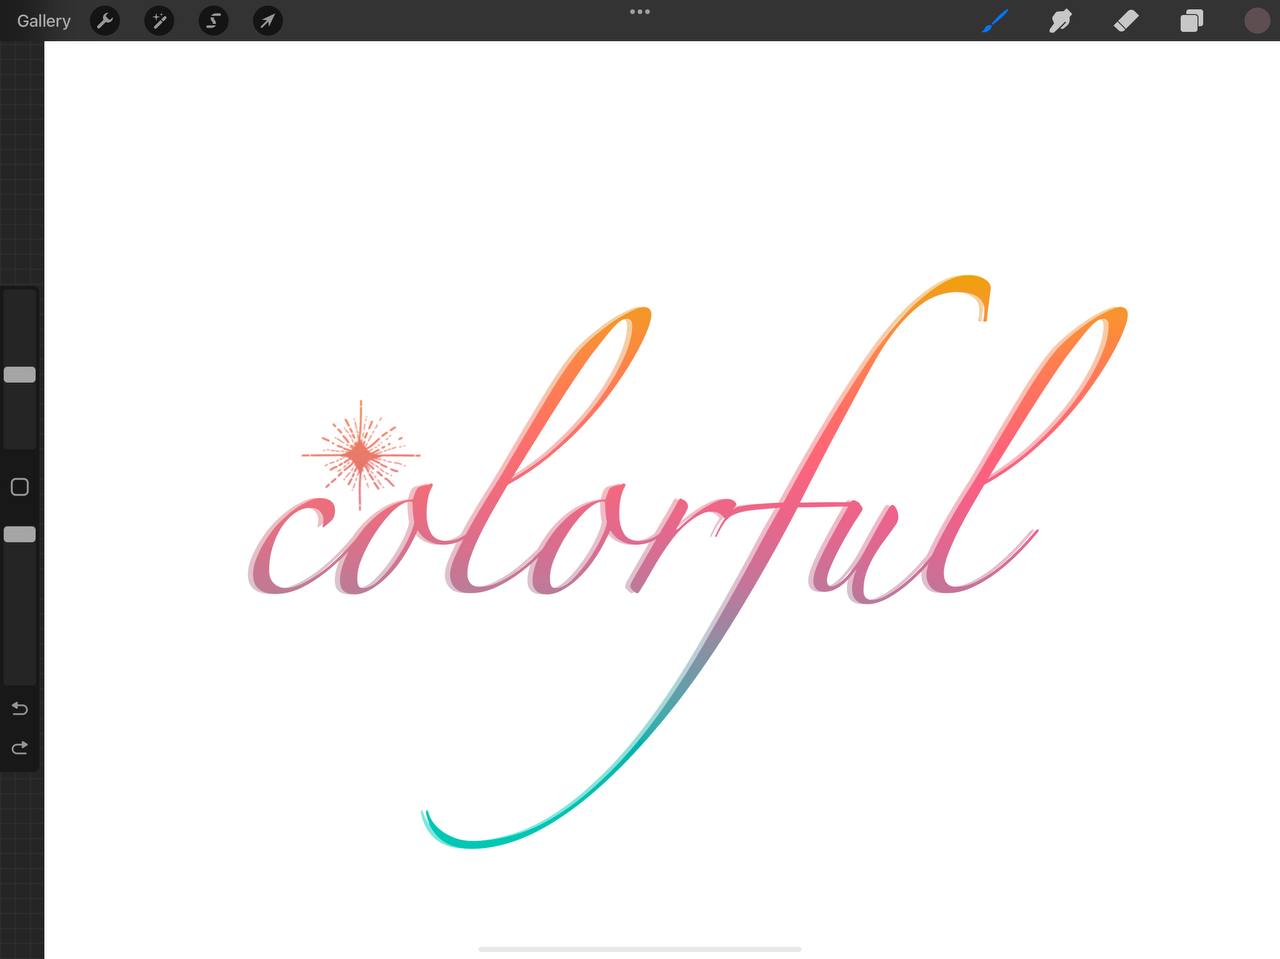
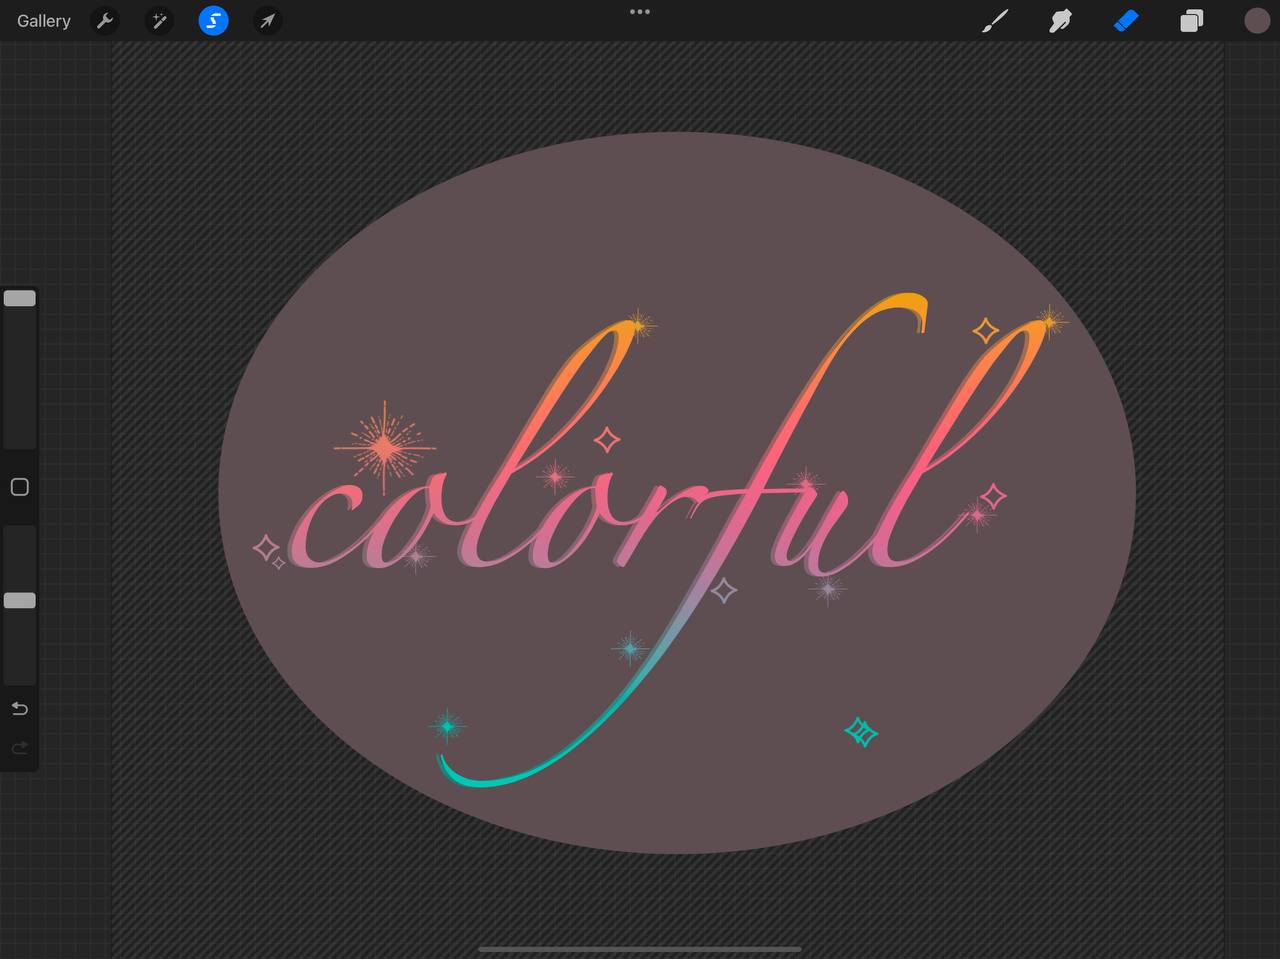
Next, we are going to add some sparkles to our logo. Again, we are using a stamp from our freebie brush set found in the link above, then we are just going to stamp some of the sparkles around and on top of the logo. Note that we are going to add the stamps on the same layer as the text. Since we want it to have the same gradient color on it.
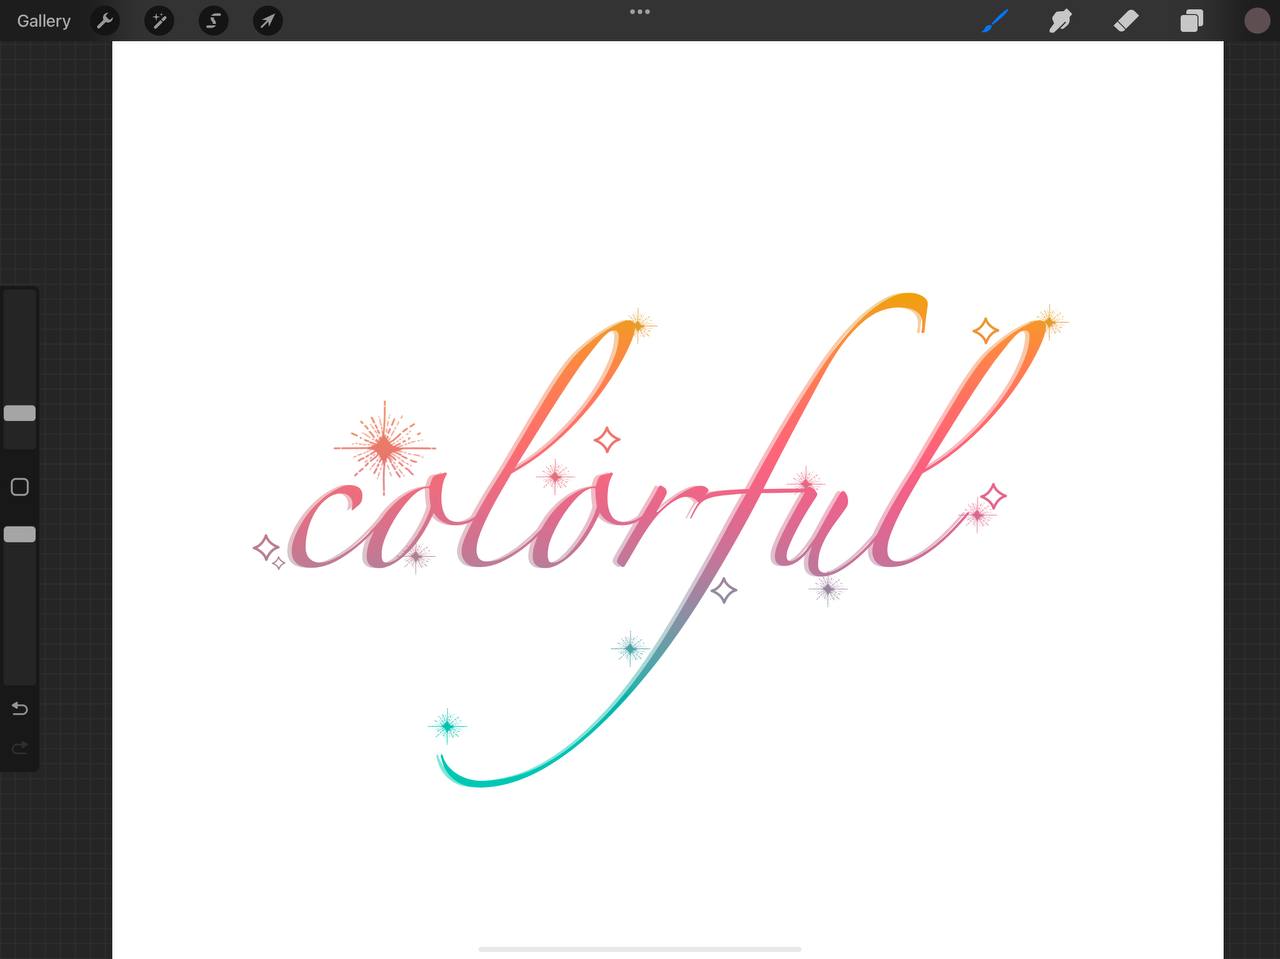
Next, we are going to disable the background to better see and save our logo. Wow, look at that! A dark background looks way better!
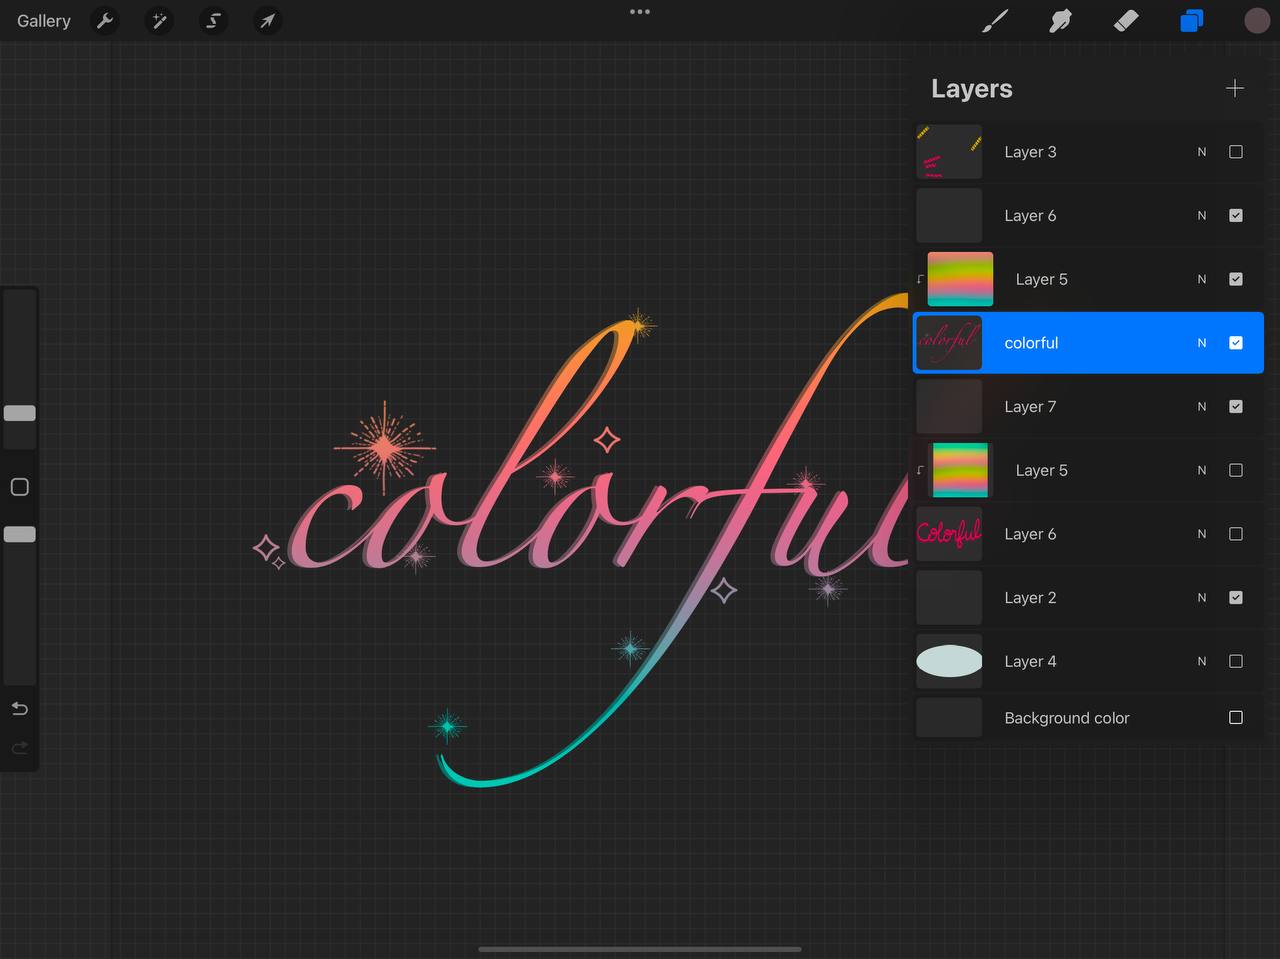
Let’s create a dark ellipse behind the logo then! On a new layer, right below all of our logo layers. Use the “selection” tool, then “Ellipse”. And start from the very left side leaving room around the word. Drag a color to fill the ellipse.
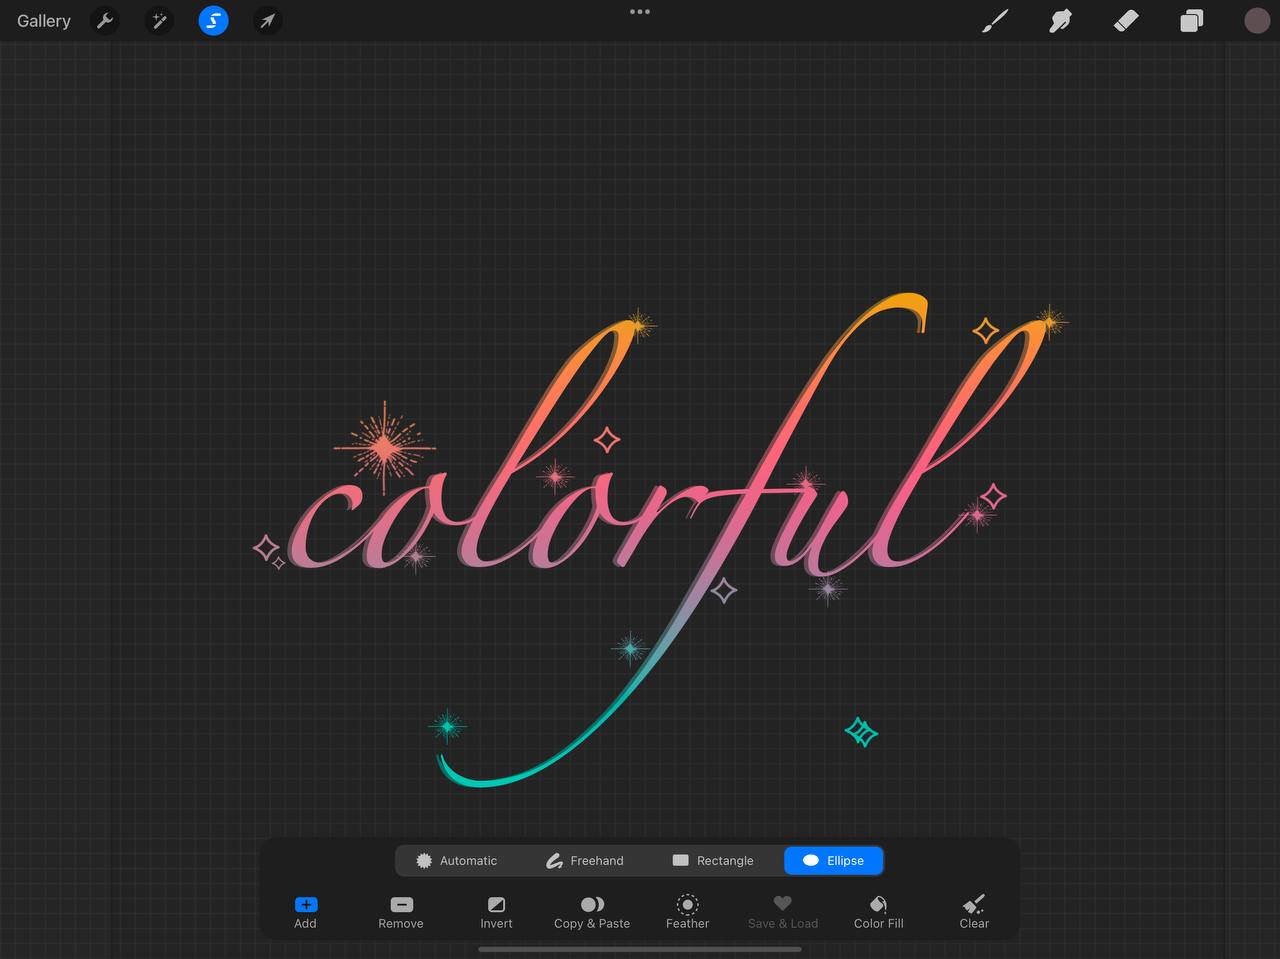
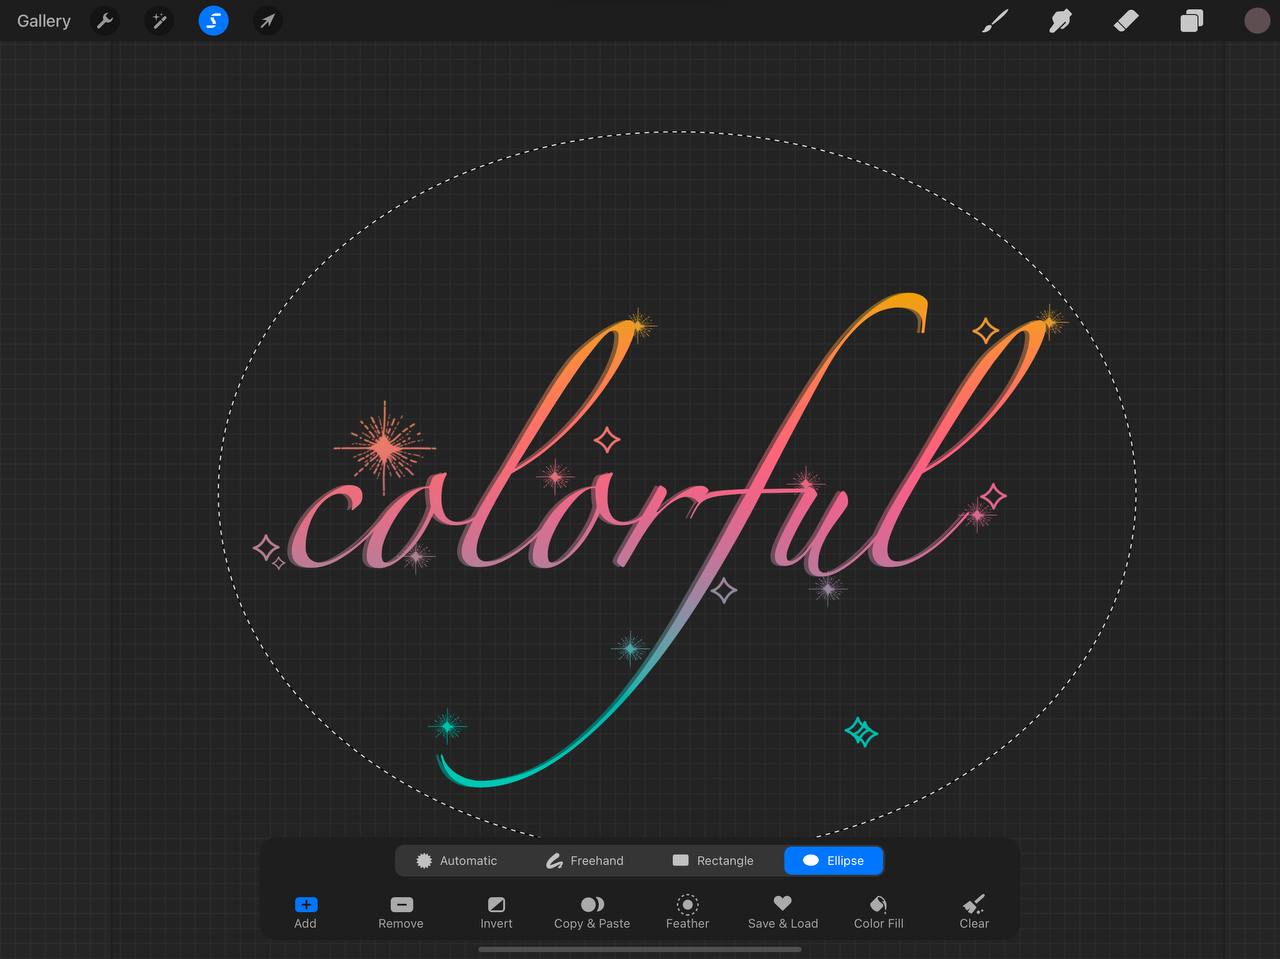
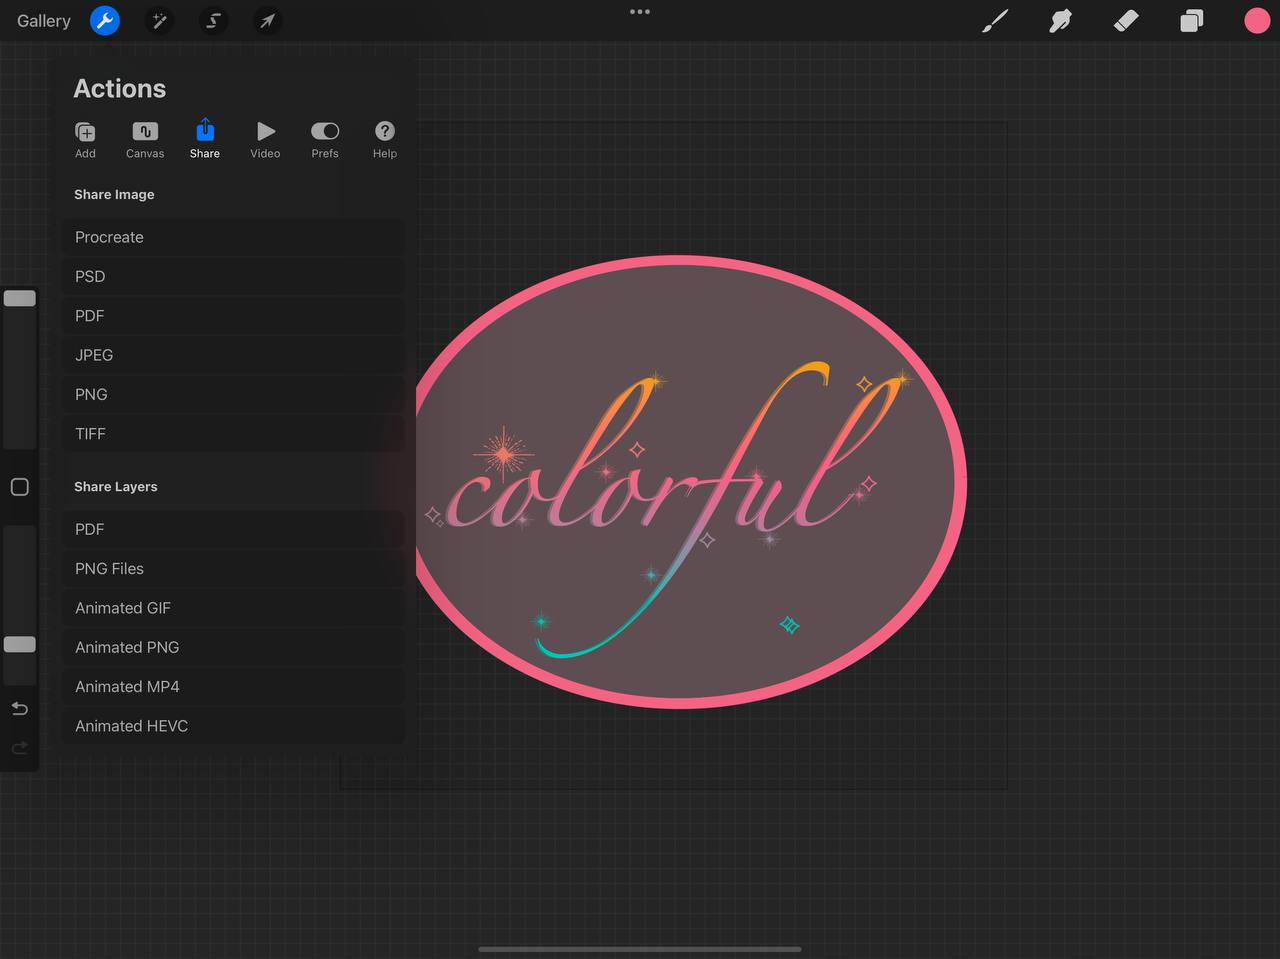
We now have our logo, look at that! Then we’re going to duplicate the ellipse and give the one below a pink color, then make it slightly larger. There we go!
Now, all we have to do is save the logo! Head over to the “Actions” menu, “Share” then “PNG”! And we are all done!
You can now print it on shopping bags, tiny labels, and pretty much anything! Enjoy!
 The post How to Design and Create a Logo in Procreate first appeared on Graphic Design Junction.


0 Comments